I took this hand plane from my Dad's garage. I think it belonged to my Grandfather, but I am not certain.
As you can see, it is a tad rusty, and the sole is covered in what looks like paint.
Once the plane is dismantled I see there are a bunch of parts that need some attention.
I've been reading various articles and wanting to try to use electrolysis to remove the rust. Today the weather is beautiful, the kids have nothing on the schedule, and it seems I can spend the day taking care of this old tool. I've scanned a few instructions for performing this task, so this is more a report on how well it worked, rather than a how to. For instructions you should check out the
video on Woodworkers Guild of America, plus the detailed
instructions, Mr. Vondriska does a nice job presenting the process, and has the idea of using a coffee can for the anode.
Instructions from Make: Magazine's project's blog by "Stan the Toolfool" and an article from
Rick's Woodshop Creations. After reading up on the process I was ready to get started.
Fortunately I have a neighbor who does a lot of car work and was willing to lend me his battery charger (thanks, Jeff), and a neighbor who has laundry soda (thanks Teri). With leftover wire from the electromagnet experiment at the last science birthday party, a 6 gallon bucket, and an old coffee can we had laying around, I had everything I needed.
To make the anode I cut the coffee can in half to make two half cylinders. I drilled 3 holes in each side and re-connected the pieces with wire. I did this to give myself more room for the tools. Since the plan is a No. 5 I had to use the 6 gallon bucket, plus this expanded anode, to make room. That process probably took the longest, as I was using 14ga wire and wearing gloves so I didn't lacerate my hands on sharp can edges. I also put a hole on either half at the top and wired up the leads there.
 |
| Checking the fit before filling with water/soad ash solution. |
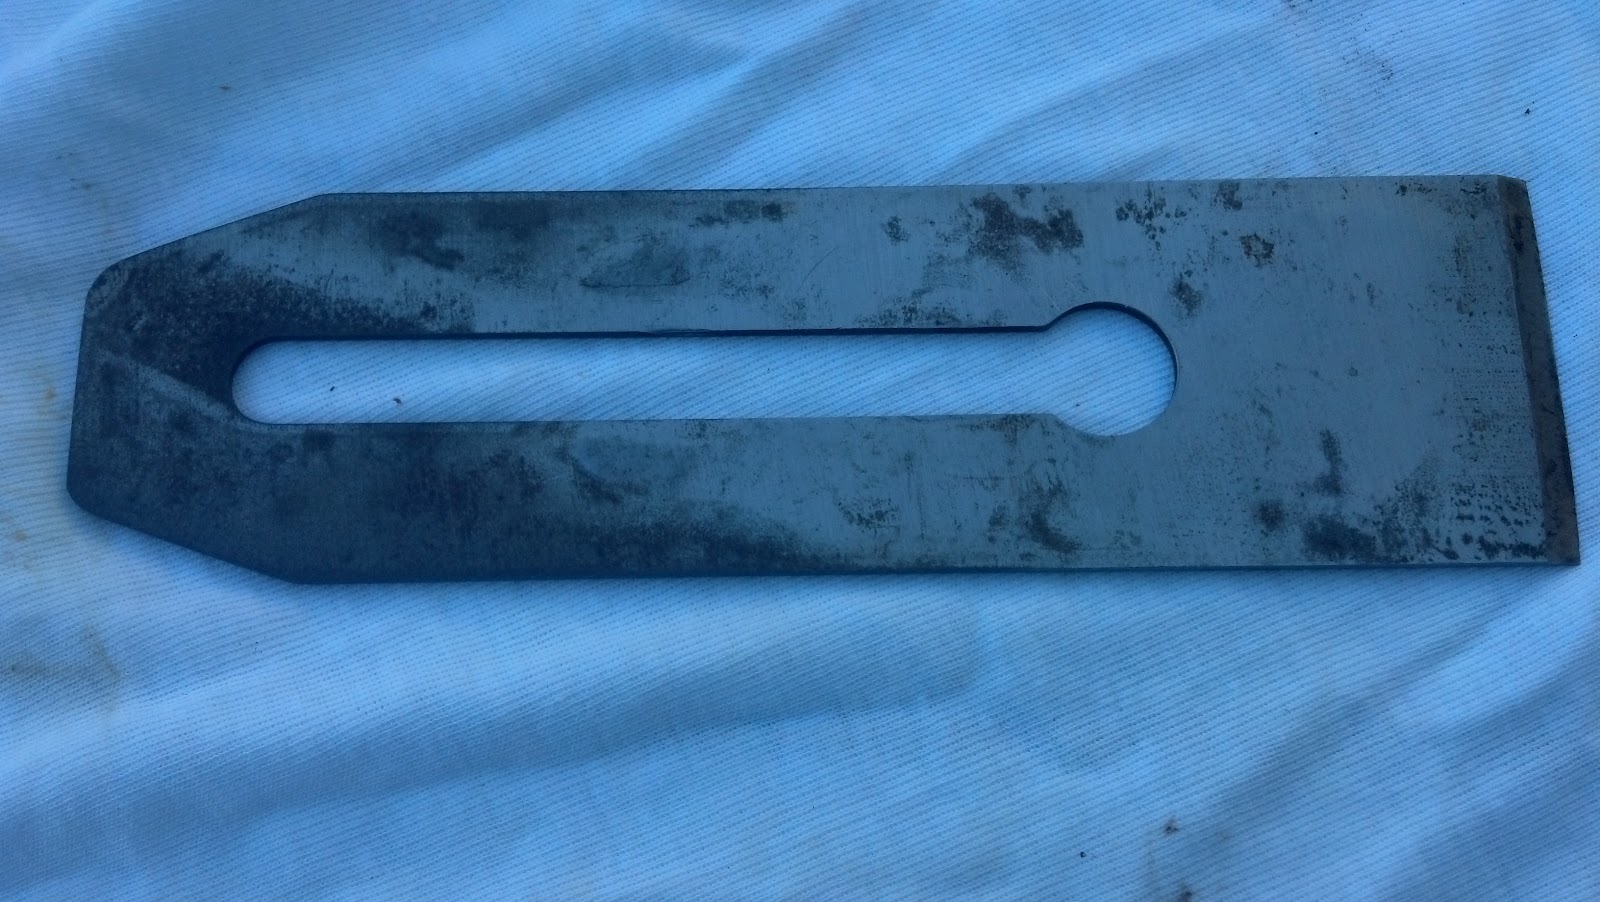
I first did the blade, half of which was covered in surface rust. I mixed the soda ash in the water, put together all the pieces, and suspended the blade.
As soon as I fired up the charger I started seeing bubbles. I wasn't getting 2 amps of current reading on the charger's ammeter, so I switched it up to the 6 setting.
After a while some sludge accumulated at the top. I left the blade in for a couple hours. I pulled it out a few times to check, it was pretty clear the process was working.
 |
| Mmmm, soup. |
 |
| Sorry about my photography skills. My worktable was now in the shade. The black areas are where the rust was removed. |
The body went in next. I was able to throttle the charger down to the 2 amp setting, maybe because this was a much bigger piece. After a short while I took it out and was able to easily scrub off the paint from the sole, either because of the electrolysis or just from being soaked for a while. This part seemed to get done very quickly, possibly the rust was only light on the surface. After cleaning it up with a quick scrub I have a nice, black, rust-free piece of iron. Wrapped up by running the chip breaker through the process. I was going to do the frog too, but was worried about the adjustment knob being brass, and it is not in that bad of shape.

Everything got a light coat of machine oil. The next phase is to sharpen the blade, chipbreaker, and lap the sole to flat. I'm using a slab of marble with varying grits of sandpaper, I guess that is the "Scarysharp" method. The sole looks good, with a few pits and scrapes that don't look too deep. Hopefully it will only take a few hours of labor to straighten it up.